Showing posts with label ink. Show all posts

Monday, 28 August 2017

First post back in 2 years! Mixed Media Monday!

For the last two years I've found it difficult to get creative and be inspired. I packed my craft stuff away and got on with life, mainly focusing on photography and self improvement. I always felt something missing though.

I guess you could say I had quite a depressive slump. In January I had enough of myself (and had a few health scares) so I decided to join a gym, to get healthy and lose weight. So far I have lost 20 Kilograms (44 Pounds). It has done wonders for my health, but also my confidence and self-esteem, as well as my motivation. It also helped me feel ready to craft again.

So I've set up an interim craft desk in my bedroom until I can get a better system sorted out.

I did my first mixed media art journal page last night:


 I'm a little Rusty, but I hope it's not terrible! My Inspiration for this piece was from a Mood Board over at Our Mixed Media Moods and their group on facebook, it had a great beachy theme which really spoke to me, since I live near the ocean!


Here's a couple of close ups of my page:


I hope you liked my page after a long absence, here's to more Mixed Media Monday's coming out more regularly!

Monday, 18 August 2014

Mixed Media Monday - Umbrella.

Hi Friends! It's a bright new week, which means it's time to see another page from my Art Journal. It's Mixed Media Monday time!


For this page I put down some of that meshy wall tape you can get from the hardware store. I thought it would give neat texture. I then went over it with Gesso and dried it. I sprayed some Dylusions spray inks onto my page, and blotted it off, to give it a more faded effect. I didn't blot the drips for the pink rain.

I sprayed some white ink through a raindrop stencil, but it didn't come out that well. So I used some blue and purple inks with a dot stamp for added texture and interest.


For my figure in a rainbow, rainboots and umbrella I used some papers I made on my Gelli Plate. Which is a new purchase I made. Wow it's so fun! A great way to make neat papers with lots of textures for my Mixed Media work. I simply drew the shapes on the papers and cut them out and inked around the edges, and added some detail with big brush markers.


For the flower I used texture paste through a stencil that I heat zapped, and them went over with Faber-Castell Big Brush markers. I liked the idea of the raincoat figure sharing the umbrella with the flower.

Which brings me to my quote:


Isn't that so true?

So Thank You for being my umbrella dear friends, and I hope you liked seeing my page today. Thanks so much for stopping by and all your lovely comments!

Monday, 7 July 2014

Elephant - Mixed Media Monday


Good Morning friends! I have some Art Journaling / Mixed Media work to show you, that I created.

I recently got a new Dylusions journal, the pages are thick and stand upto lots of paint, spray, ink and water, and don't warp like my old journal did! So I'm really happy with it.

Here's my first double page from it:


 For this page I started with multiple colours of Dylusions spray inks, and just covered my page with them, and sandwhiched the pages together, to get even covering on both sides. I inked through a numbers stencil with black dylusions spray on a sponge. Then added washi tape, and lots of stamping, in white and other colours to form interest in my background.

My main focal image was this elephant I cutout from a magazine! 


 I found a couple of quotes I liked online and printed them out from Word, and clipped them to pop them onto my pages. Beforehand, though, I went in with some texture paste and paint mixed together and went over some stencil images as more focal points for my page. Such as the key, the hearts, and the large heart bottom left.


 Here's a close-up of the heart done in texture paste:


 and the quotes:

 "Love will draw an elephant through a key-hole." 

 "Have the heart of a poet, and the skin of an elephant."

I hope you liked seeing my pages from my Art Journal today, I will be back next week with another page or two! Stay tuned Friday for some more photos, as well! Thanks for stopping by!!!

Monday, 27 January 2014

Mixed Media Monday - 3 Girls with Layers

Hey-Hey Kids! lol! Can you believe this is the last Monday for January 2014!? I can hardly believe this year is already whizzing by so fast! But I have been keeping busy, and creating!. I have 3 pages in my Art Journal that I did this week to share with you for today's Mixed Media Monday!

Let us get on with it, shall we? All pages today seem to have feminine silhouettes or imagery, as well as layers of colour and pattern.

I'm not going to go into much detail of how I made each page.  Because I don't want to bore you, But if you have any questions about specifics just leave me a comment and I will respond there.  I just used a Palette knife, paint, Flossie Dylusions silhouette stencil, make-up sponge. Some Dylusions sprays, and other Dylusions stencils. Printed quote, and some foam stamps, and a gel pen for doodling. 
 
Imperfection is under-rated.


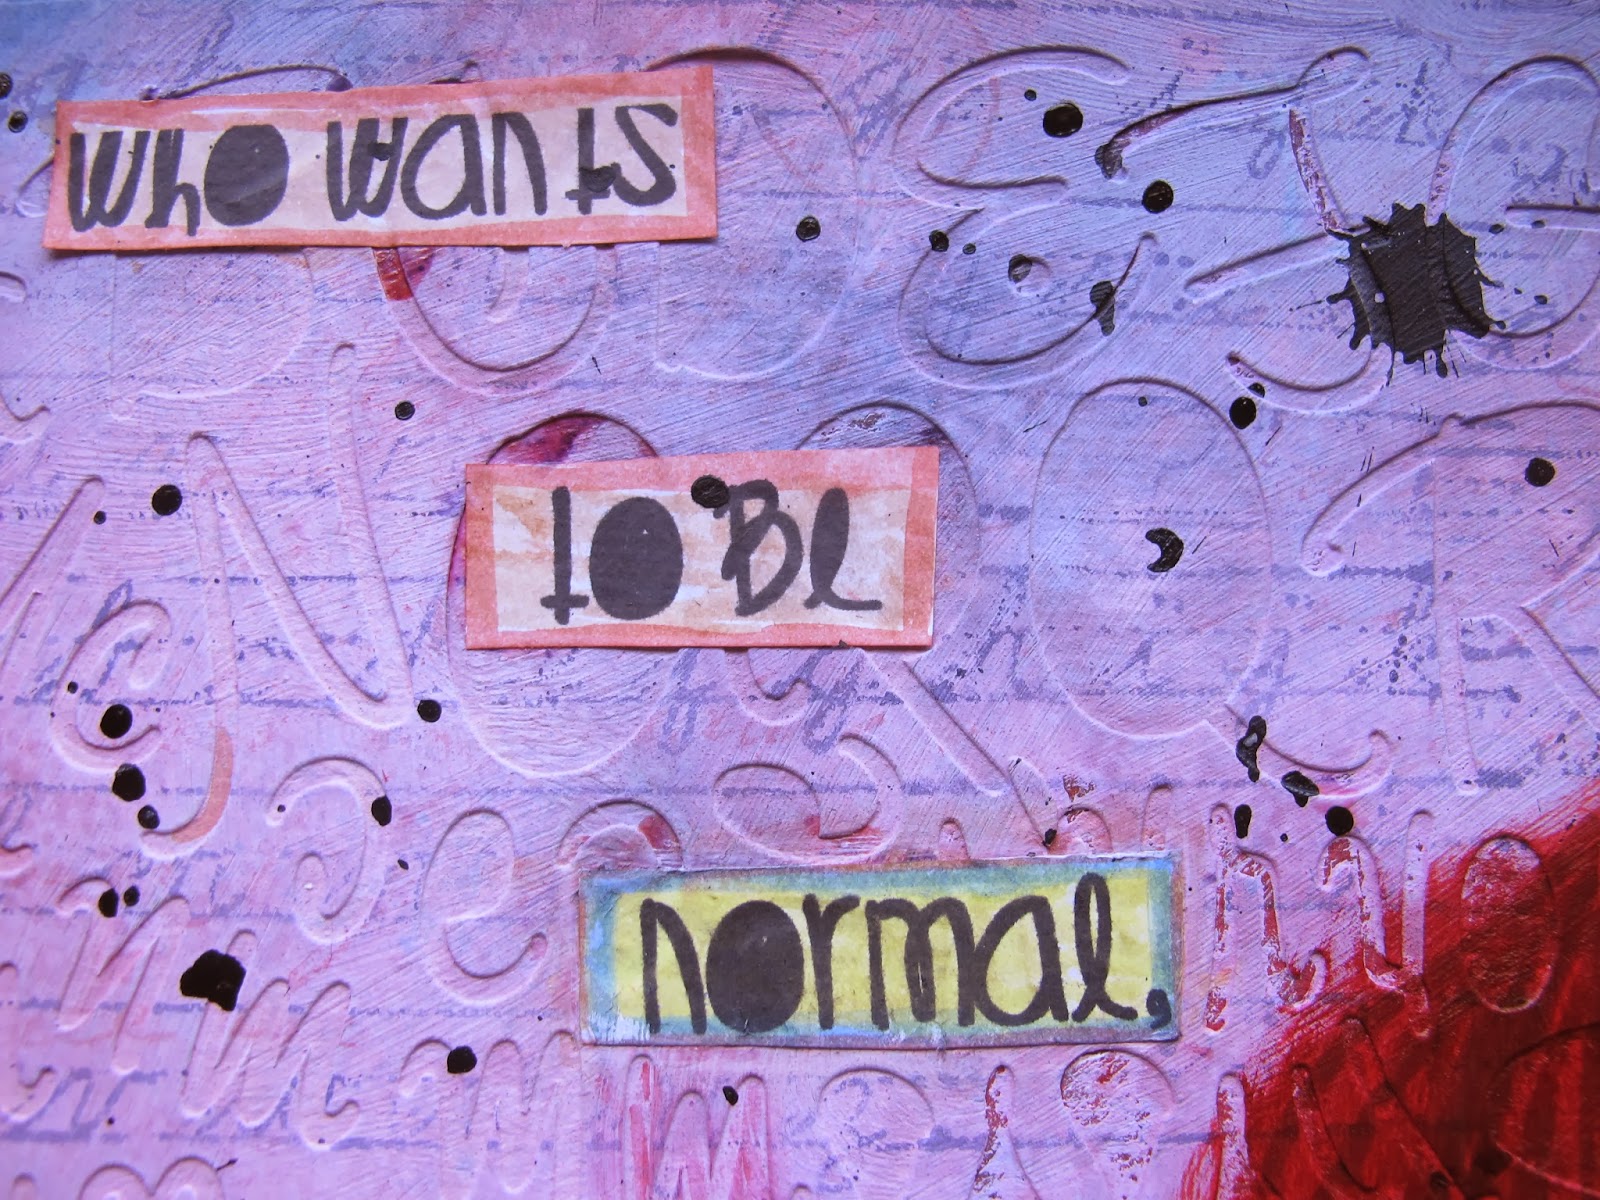
This second page I wasn't happy with at first, but I kept adding layers, pattern, and more colour. Then toning down the colours with some walnut distress stain. Which eventually made me mostly happy with the result. 
 I found this quote after the page was done, but felt it matched well with the shadowy tones and and because I felt it needed something more.
 "Never feat shadows. They simply mean there's a light shining somewhere nearby."
 I used paints, sponges, distress stain in walnut, Balzer Designs Silhouette script head stencil, hexagon and zig-zag stencils and white Mr Huey spray.


This third one was done on a smaller Art Journal I have - all are usually A4-Letter Size, this one is half of that.
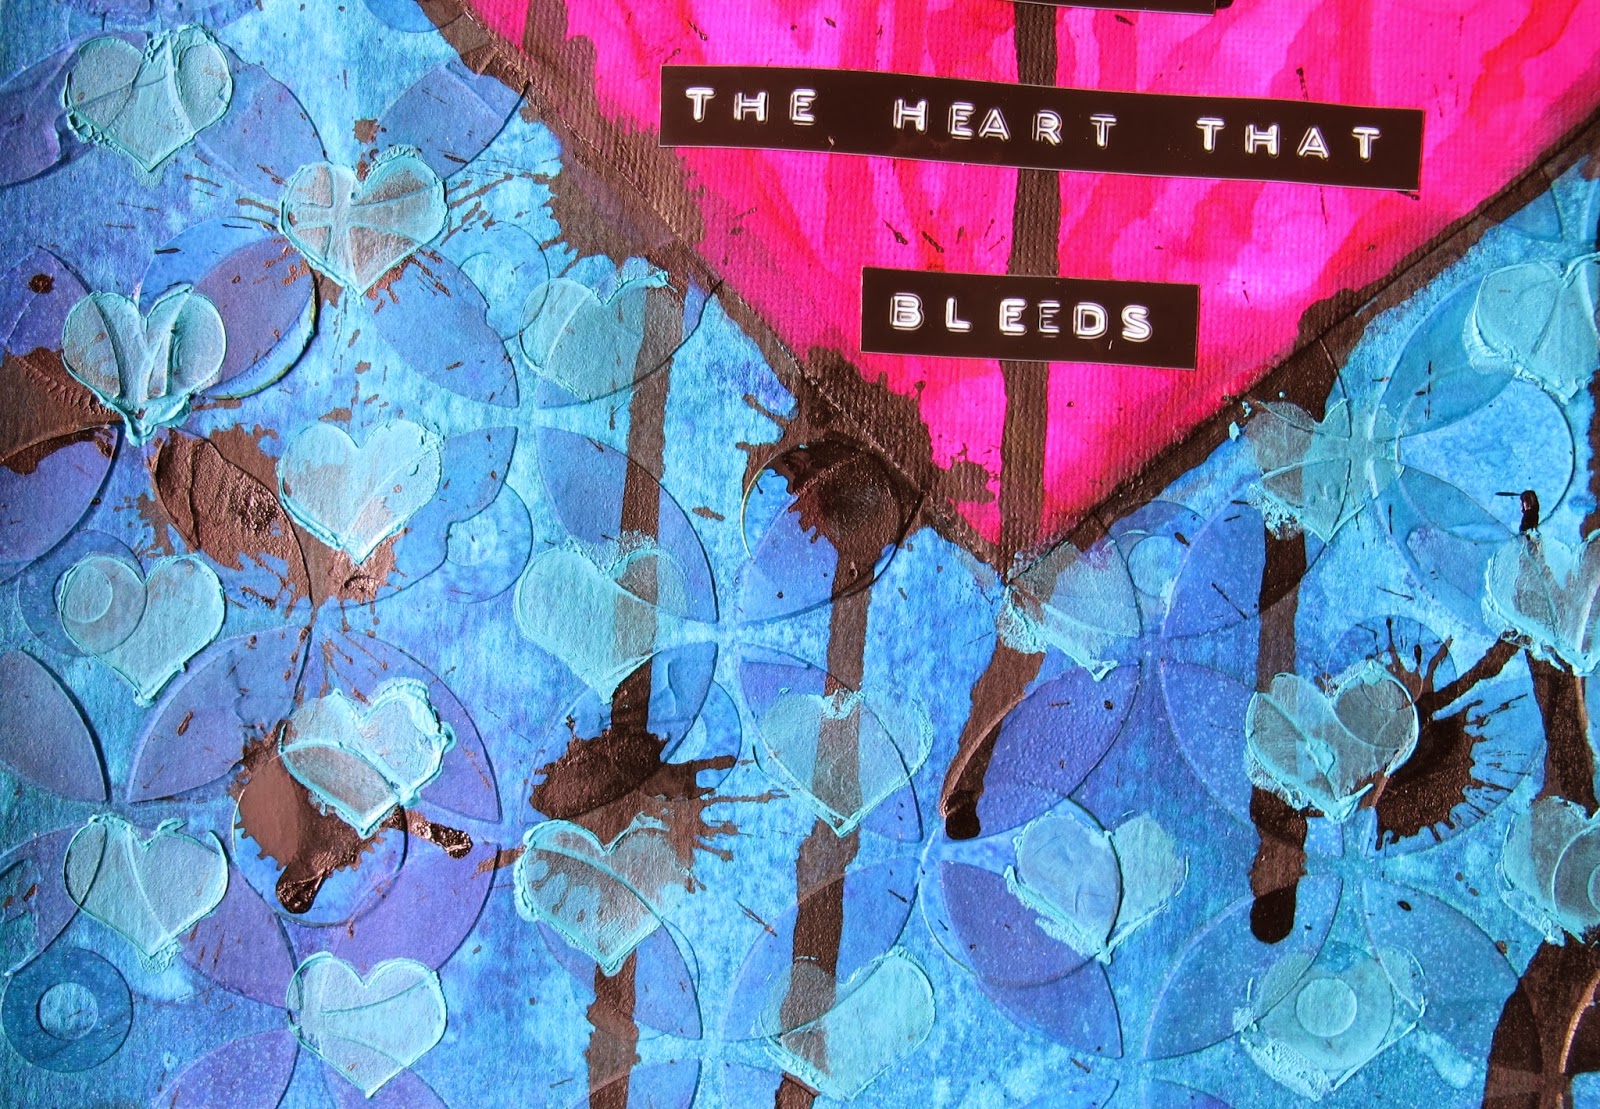
 I used more paints, love the thickness and texture these give, I just got them from a cheap shop, but they are really thick, great for going through stencils, which is what I did here.  Lattice Stencil, Zig-Zag Stencil, White Mr Huey spray, chipboard, crackle glaze for the heart, and some walnut stain to define the crackles. Tissue paper and staz on with the PaperBag Studios stamp girl called Sunshine Girl.
She {HEART} Art
She loves Art!

So there you go, my 3 pages for this week! I am really enjoying my Art Journaling, each morning I sit and spend an hour or so just playing, adding to a page or two, eventually having something pop out. It is great therapy and helps me express myself and have a positive outlet, as well as keeping creative and busy, and calm each day. 

I hope you liked seeing them, I will hop around your blogs this afternoon. 
Thanks for stopping by!

Monday, 13 January 2014

Mixed Media Monday - Vase of Flowers!

Hi Friends! Sorry I have been away from the blog for so long! I have been busy all over so far in this New Year, but hopefully everything has steadied now! I have also been doing lots of clean up and reorganization... The whole family did a lot of yard work over the weekend.
 Before that I revamped my craft and bird room, so I can get a lot easier access to my craft desk and craft items, so I can hopefully craft more often now! Before it was just so cluttered with bird cages and bird stuff and tables and other random stuff! But thankfully It's all much better now!  I'm sure the birds appreciate it, too!

So this morning I crafted in my new space and enjoyed it! It was so easy to get to everything I needed. Wish I had have done it earlier! 

So here is my Mixed Media page for today done in my Art Journal:


To start I popped down square torn scraps of patterned paper with gel medium, and basically collaged the background, then popped down some texture paste through various size hole stencils. So the holes would be raised as bumps and give neat texture on the page. I Allowed that all to dry and painted over the whole thing with a dark red paint, and used a baby wipe in places to make it lighter.


Hopefully you can see the circle/dots/spots texture. I also sprayed a bit of white Mr Huey misting spray through a polka-dot stencil.


I just folded a piece of 6x6 paper in half and drew a half of a vase shape and cut it out, so that when I opened the piece I had a full vase shape that was symmetrical. Stuck that down with gel medium, and shaded it in with some Faber-Castell gelatos and big brush pens. Also some charcoal pencil helped with shading as well. I Also added some stamping as you can see of some more dots, and also some flourishes.


I outlined the vase with a black big brush marker pen. I then free hand drew some star shaped flowers on blue patterned paper. Cut them out and arrange them, I drew around each other them as well as adding some more dots. I felt they needed more layers to look a bit more realistic. So just got out a flower punch and punch some cream and blue flowers out to layer them up some more. And finished each flower center off with a red enamel dot. 


Last but not least was the quote, I found one online and shortened it, and stamped in Distress Ink first for a shadow on the letters, then in black Staz-On ink.  


I hope you liked my vase flower page, I hope to share more often now! 

I am going to hop about your awesome blogs this afternoon, in the meantime Thanks for stopping by and have a terrific new week!!! 

Hugs xoxo

Wednesday, 18 December 2013

Bleeding Heart - Mixed Media Page

Hello friends, wow these days and weeks are speeding by! Can you believe it is just a week until Christmas? 7 Sleeps! EEP!! That really came up fast.

Well, I mean't to post this page on Monday for my Mixed Media Monday post, but that lapsed with me being busy here. So here it is now:


So to start off with I stuck down some round reinforcement stickers, then got out my circle lattice stencil and some texture/modelling paste and went over it to give some neat texture. 

When it dried I spritz it with some Dylusions sprays. 

I cut the heart out of some canvas paper, and spritz that with more Dylusions, in a contrasting colour, and stuck it down. Then went around the whole thing with some black india ink!
 It ran a bit, so I decided to go with it, and let it run and drop some more. Which brought me to look for a quote to match. The piece sort of came out dark and moody, so the quote seemed to fit that. I just used a regular dymo embossing labeller for my quote.


The finaly step was to add splatters of india ink. And I also went over the piece with a heart stencil and a paintstik.


So something a bit dark, but Art Journalling is great therapy to get out these type of emotions, I feel. 

I will be back before Christmas to wish you well.

Thanks for stopping by xoxo

Monday, 9 December 2013

Unique Face - Mixed Media Monday

Hello Friends!! I hope you all had a fabulous weekend! I got a bit of craft on in my Art Journal;

Here is my mixed media page using the Jane Davenport face stencils;


My background was done by first sticking down the negative leftovers from a page of cardstock letter stickers, and going over them with gesso, and then some Dylusions sprays. 

The letter sticker diecut/negative gave a fun texture, I also then went over it with a writing lines stamp. Here is a closeup view so you can hopefully see the texture and stamping in the background;


 The face was sketched with the Jane Davenport face stencil, and then painted. I went in with Faber-Castell Big Brush markers for highlights, shadows and details, etc.

I chose this great quote for my page, printed out from my computer, and went around each section again with Big Brush markers.


I figured the face and girl I made was pretty unique, so went with the quote well.


The last step was to put some splatters around, with India Ink.  

and that is my page in my Art Journal, for this Mixed Media Monday!

I hope you like it, Thanks so much for dropping by!

Hugs xoxo

Thursday, 24 October 2013

Lily Birthday Card

Hi Friends, sorry for the lack of posting this week and deviation from the schedule, but I've been helping Mum out with doing a big Spring Clean about the house.

 The major item that took the longest, and was the dirtiest, was the Air Conditioners... We often clean and vacuum the filters and vent screens in them. However, in turning them on for the first time since last year when we had the first of our hot days, bits of black fluff was coming out of one! When we shone a torch up into the part where the air blows we noticed LOTS of dirt and muck up there. We were shocked!
 So a day was spent carefully taking the front off the Air-Cons and removing the louvers, so we could get up in there to clean them out. We got stuck in with a bottlebrush, an old toothbrush some rags, etc, and even the vacuum cleaner to get all the yucky muck out from up in there! It was really disgusting! and quite embarrassing, too! We just never thought that section of the air-con could or would get so filthy!!! Figured that is what all those filters and lint traps were for, but apparently not. Had anyone else noticed this? But now we know about it, we can keep on top of it, so it will never get that bad again! There would have been 5+ years of muck up there, and I must say the Air-Cons sure did run a lot better after the big cleanouts!!! LOL!!!

Anyway, a Birthday week in our house, with my Mothers  sixty *cough cough cough* birthday! lol... She keeps saying she wants to forget them and stop counting, and maybe make them reverse... I told her that is not how it works! hehee

Of Course I made her a card for the occasion, she loves Flowers, and I had this lily image already coloured up in my coloured up image tray and made a simple card, semi inspired by the floral fantasies of my blog pal Brenda...


I decided to keep it reasonably simple, and just use layers of coloured paper to make the flower the focal point, and so the papers just resembled the colours in the flower. The paper is from a couple of My Minds Eye paper pads.


The flower would have been coloured with Spectrum Noir Markers, and all edges and layers were inked with some distress ink to help them shadow and stand out, etc.

I hope you liked seeing this card, and hope to have some more to share soon!

Thanks for stopping by, My Friends!